Showing posts with label thursday thrift. Show all posts

Thursday, April 7, 2011

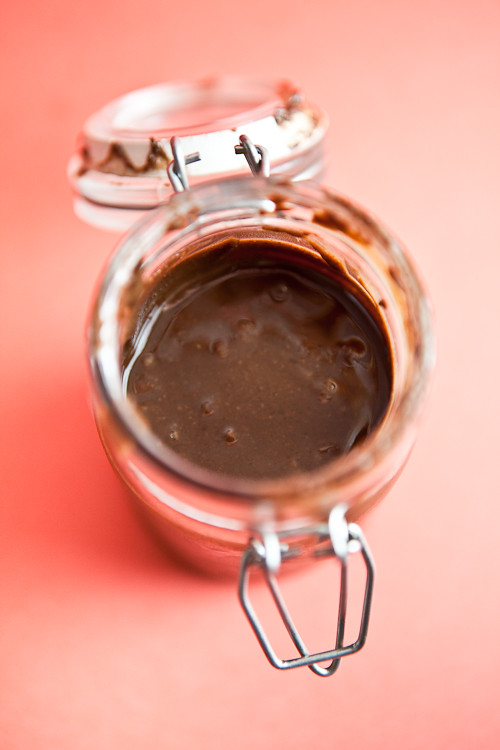
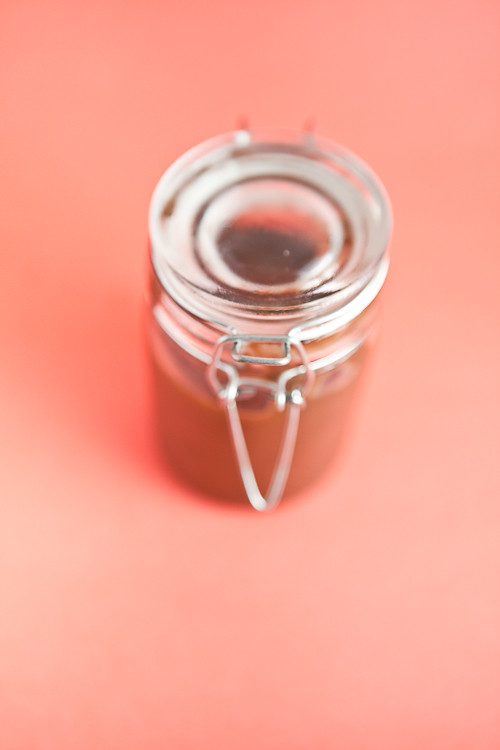
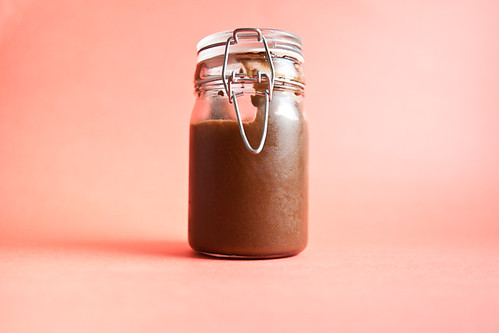
thursday thrift: chocolate hazelnut spread (soo much better than nutella)

i have to admit, homemade chocolate hazelnut spread may not be the best topic for a thursday thrift. it may end up being a tiny bit more expensive than buying nutella, but i swear it will be worth it.

i also have to apologize for my absence from the interwebs, or specifically this blog, for the last couple weeks. i got really sick a week and a half ago, and became mentally drained as well as physically incapable of much. the flu really knocks you out. i'm still not feeling 100%. i also just started a new job today, so much has been happening, and i'm exhausted, so i'll keep this short. i'm making myself post this blog, even though i want to sleep so very badly.

right, so back to this nutella knock-off. the recipes i've found call for whole hazelnuts, but i cheated a bit and bought a jar of hazelnut butter (which is just from hazelnuts). incidentally, i bought this jar a loooong time ago for the intent and purpose of making chocolate-hazelnut-spreadable-goodness, but i got lazy and forgot. one day, however, i remembered i had it and got to work. and it was super easy. super. easy. you can also do the whole hazelnut thing - probably cheaper than the hazelnut butter, but a bit of extra work too. extra work doesn't hurt you though. that's what they say....

here's what i did:
  • 1 250 gram jar of hazelnut butter
  • 1 cup powdered sugar
  • 1/4 cup unsweetened cocoa powder
  • up to 1/4 cup nut oil (i used walnut, i'm sure hazelnut oil would be divine, but canola may work if you're in a pinch)
  • 1/2 tsp vanilla extract
and i just mixed it all together with a hand-mixer until it was smooth enough for me, and i poured it into pretty jars and refrigerated.

if you want to use whole hazelnuts, you will need a food processor, or a good blender (or be okay with chunkiness). use this recipe here. it looks really well thought out.

do try this at home. its not as sweet as nutella, but it tastes richer, and realer. it is realer, really.

Thursday, March 24, 2011

thursday thrift: laundry soap

i'm sorry to disappoint anyone stopping by who was looking to view some delicious food photos. the following post contains photos of laundry soap. not delicious in the least. and while i tried my best to make the laundry soap appear elegant, it is for cleaning your clothes, not filling your stomach. however, i have gotten complaints from people saying my blog makes them hungry, so i guess this post is for you people. you cannot possibly walk away from these photos and be hungry as a result. (right?)

thursday thrift is not just about eating well for cheaper. it's also about the home, and living well for cheaper. my sister and i recently decided that laundry soap (the stuff that's not harmful for the environment & full of chemicals) is a bit expensive. so she found a recipe for homemade laundry detergent. it's very, very simple, and you can pick up the ingredients at your grocery store. (i think)

what you need:
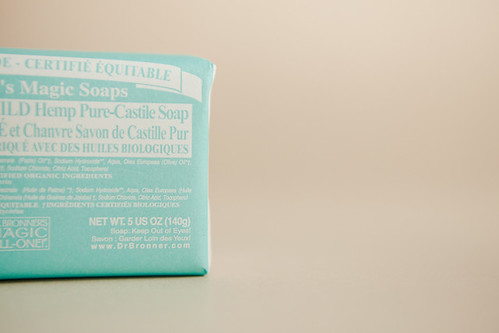
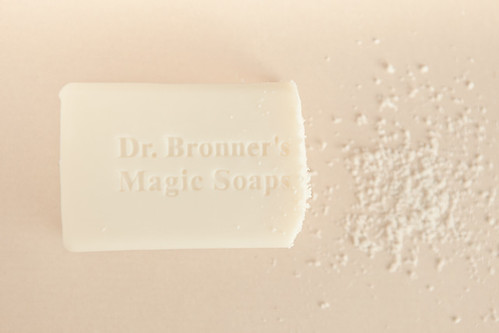
  • 1 bar of soap (we used unscented baby-mild hemp pure-castile soap by dr. bronner's. feel free to use scented soap, but stick to a simple soap with no parabens or unnatural colorings or scents)
  • 1 cup of washing soda (sodium carbonate - DIFFERENT from sodium bi-carbonate, which is baking soda)
  • 1 cup of borax
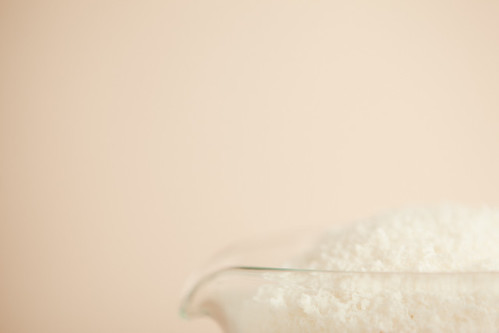
grate your soap as small as you can. this part takes the longest, and the smaller you grate, the longer it will take as well. mix everything together, and put in a container you don't mind smelling soapy, & store in your laundry room.

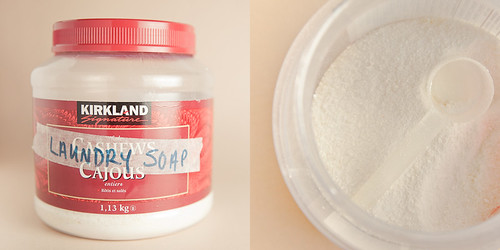
the finished product - aptly put in a re-used container (ugly as it is). when using, since it is a powder, remember to put your detergent in first (1 or 2 tablespoons per load) & swish the water around before adding your clothes.

Thursday, March 17, 2011

thursday thrift: bread


bread.

i love it. who doesn't? it's so versatile, you can eat it with any meal. i'd venture to guess bread, or some form of it, is one of the top 3 comfort foods for 98% of north america's population.

i am not a fan of all store-bought breads (like wonderbread - bread is not naturally that white - or the kind with 30 ingredients, half of which are chemical preservatives and colors), and the kind of bread i do like to eat (like a bread affair bread for those of you in the vancouver area. i mention them all the time. because they are amazing, that's why.), while amazing, is often expensive too.

i grew up with a mom who made our own bread all the time. when she baked, our kitchen turned into a factory and we had enough bread and rolls and cinnamon buns to last us weeks or months. although she did give a lot of it away. i love my mom. some of my best memories of childhood stem around bread. kneading my little ball of dough, making mini 'barbie-sized' bread loaves and buns, and eating fresh, warm bread, with fresh, homemade peanut butter. my mouth is watering now.


but over the last few years, almost every time i've tried to bake bread, its been a failure in one way or another. or if not a failure, i got a boring, tasteless loaf of bread. wait, yeah, that's a failure. needless to say, i was justifiably afraid to try baking bread for a while. and to bake in large batches like my mom does? i can't even fathom it. i'm a bit of a slow baker. i like to think that i just enjoy it so much that i savor each moment, but really i'm just slow.

my sister and i have recently discovered the wonders of no-knead bread. how is it wonderful? you don't have to knead it, and its not so picky. if you go over the specified amount of waiting/rising time, you won't be left with dense, flat, horrible bread.

i also tried the kneading bread again. three times. and it worked pretty decently!

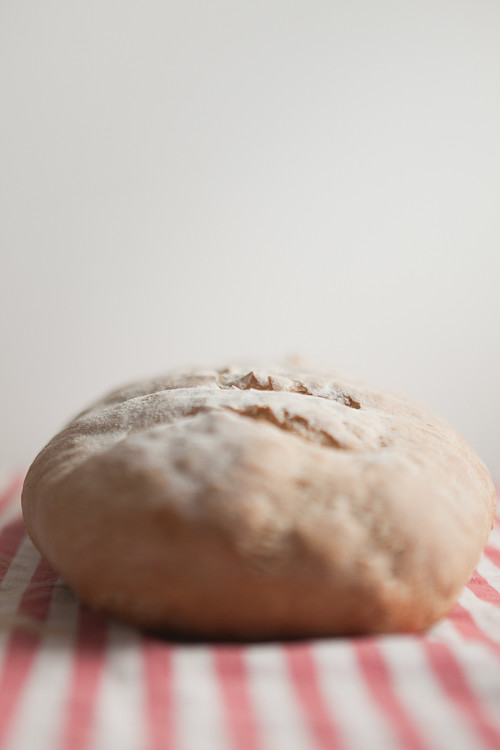
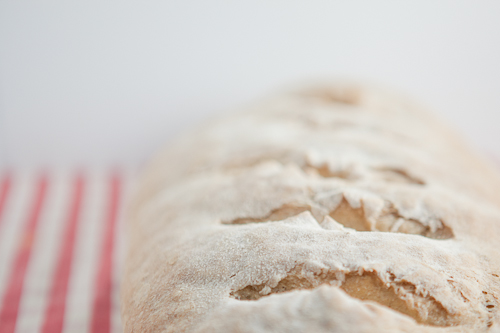
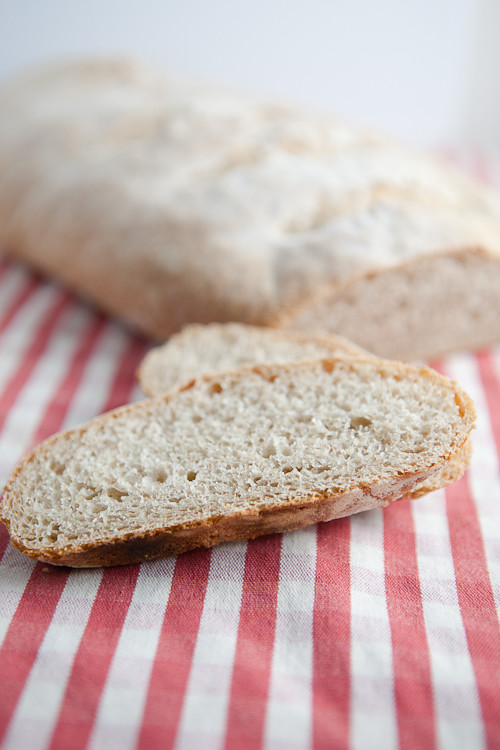
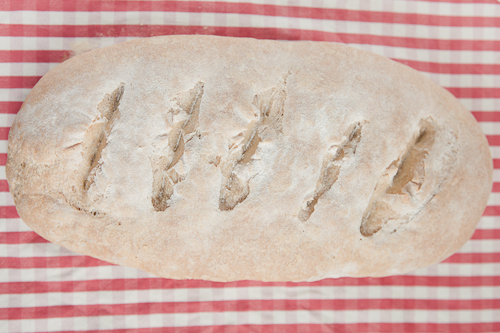
so i'll give you both recipes below. the photos are from the kneaded bread. the no-knead bread isn't as pretty, cuz we bake it in a casserole dish.

basic white bread (kneaded):
adapted from reader's digest ultimate bread by eric treuille and ursula ferrigno

ingredients

2 teaspoons dry yeast (i've been using active dry yeast)
1 1/3 cups water (325ml)
3 1/2 cups unbleached flour, sifted
1 1/2 teaspoons salt

instructions
  1. sprinkle yeast into 1/2 a cup of the water (lukewarm) in a bowl. leave for about 5 minutes, stir to dissolve.
  2. mix flour & salt in a larger bowl. make a well in the centre & pour in dissolved yeast.
  3. use a wooden spoon (not sure why its specifically wooden...) to bring in just enough of the flour into the dissolved yeast to form a paste. cover bowl with a dish towel, and wait 20 minutes. you want the paste to get spongy, frothy, and expand a bit.
  4. pour half of the remaining water into the centre, & mix in flour from the sides. stir in water as needed for a firm, moist dough.
  5. turn dough out onto a lightly floured surface. knead until smooth & elastic, about 10 minutes. (i usually gave up around 7. oops)
  6. put the dough in a clean, lightly oiled, bowl & cover with a dish towel. let it rise until its' doubled in size, around 1 1/2 to 2 hours. punch it down (get the air bubbles out), and then let it rest for 10 minutes.
  7. shape the dough into a loaf. i basically took the punched down dough, flattened it a bit into a rectangle shape, and rolled/folded it into itself on a lightly floured surface. pinch the ends together, and that end becomes the bottom of your loaf. make sure the top is smooth. it helps to cup your hands over the loaf, and kind of roll it - the top of the loaf will just barely touch your hands. make sure the ugly side with the pinched ends stay on the bottom.
  8. place loaf on a floured baking sheet* and cover with a dish towel. let it rise again (proof) until its doubled in size, around 45 minutes.
  9. cut slashes in the loaf diagonally, & bake in a preheated oven (425 F) for about 45 minutes. a good test is to pick it up with potholders, and tap it underneath. it should sound hollow.
  10. cool on a wire rack.
  11. slice up a few slices, spread on the butter, and devour.
*you can also use a loaf pan if you prefer.


no-knead bread:

i'm actually not going to type this one out, because the new york times' article its from is pretty in-depth already. here it is. sometimes we mix rye or whole wheat with our organic unbleached, all purpose flour. one cup of rye flour gives it a nice flavor, and gives the bread the appearance of wholesomeness.

no photo for the no-knead bread. as i mentioned before, we bake it in a casserole dish, so it takes on a weird shape. it's ugliness doesn't affect the flavor, but it just doesn't like the camera all that much.

if you have any good bread recipes or bread-making tips, do share, or send me a link if you've blogged about it.

happy bread making!

Thursday, March 10, 2011

thursday thrift: paint

apologies for the late (& short) thursday thrift post.

today's thrift: paint. i've been working some odd jobs lately. in order to make money so that i can be more thrifty. making money is thrifty, right? ;) no really, i did some painting today, and it reminded me of the thriftiness of painting your own walls & furniture. for example, 2 of the dressers in our house. they were not only hand-painted (mostly by my sister), but they were also found in the alley (also by my sister). double-thrifty!

i've had a busy week, am just getting over a cold/sore throat/something rather, and am tired. i have a post half-written for next thursday thrift. i promise it will be a good one.

oh oh! i have a special post coming next week as well. i had so much fun writing about food.weekly. last month that i decided to write about a food blog every month or so. i'm excited to get to know my fellow food bloggers better, and i hope you are too. if you aren't excited, you'll just have to put up with my excitement... let it rub off on you a bit.

so come back next week when i'll stop whining about being tired or sick or busy, and i'll be better at blogging about things that will actually interest you.

have a lovely friday!

Thursday, March 3, 2011

thursday thrift: christmas what?

thursday thrift, the time of week when i share & discuss ways to be creative with small amounts of money in order to still enjoy good quality in the home & kitchen.

today's thrift is about christmas. (yes, thank you, i do realise its been 2 months since this last christmas, and almost 10 months til next christmas.)

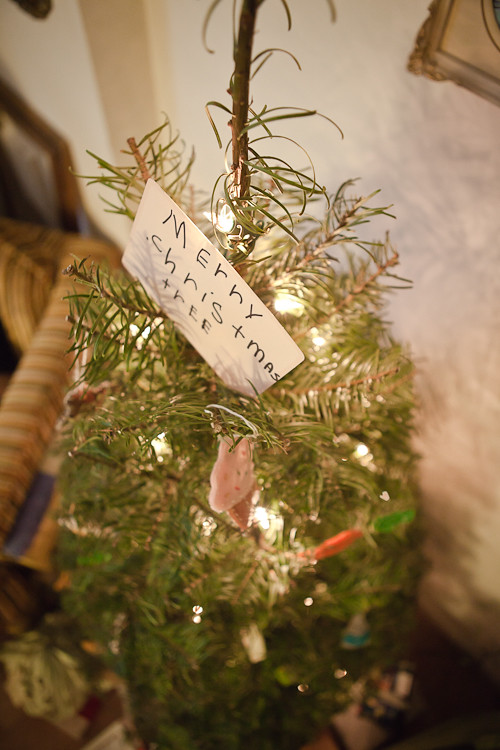
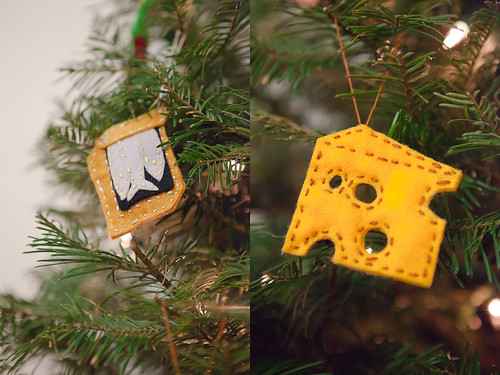
last year my sister and i wanted to decorate for the christmas season, but we didn't have a lot of money to spend (not that we're the type to buy typical decorations anyhow, but that's not the point), so we made our own. out of felt. guess what we themed the christmas tree ornaments around??

that's right... food. because we love it.

we lived vicariously through our tree as it got to be lavished with chocolate cake, cupcakes, and all sorts of delicious foods.


can everybody tell what's hanging beside the swiss cheese? you get brownie points if you can. one of my sister's favorite foods.

and to grace the top of our tree, instead of putting the star of david (who was a king), we placed the king of fruits there. more brownie points for people who know what that fruit is. (and respect if you've actually eaten it.)

to make your own felt ornament, you need:
various colors of felt (generally purchased at $0.50 a sheet)
embroidery thread
needle with a big enough eye for embroidery thread
cotton balls, or other stuffing
paper & pencil for patterns
scissors
creativity :)

basically you are sewing 2 identical shapes of felt together, with some stuffing inside.
draw your pattern on paper, and cut out. with felt, cut out 2 of the shapes of your pattern. if your ornament has a little something extra on it, like the yolk on the fried egg, or the cake layers on the cake, sew it onto one piece before sewing both pieces together. thread your needle with a knot on the longer side. space your stitches well enough apart, for quicker sewing and prettier stitching. sew until you have an inch or so left & stuff with cotton balls. try to avoid lumps by pulling the cotton ball apart a bit before stuffing. finish sewing & stitch a knot at the end, as subtly as you can. re-thread your needle & pull it through the top of your ornament halfway. pull one end of the thread out, & remove the needle. you should have a piece of thread going through the ornament. tie the 2 ends together, & hang your ornament on the tree! or put it in a box & save it for christmas.

this next christmas season, months and months away, why don't you make your own ornaments? (and they don't have to be food themed) it not only saves money, but it adds a personality to your tree that only homemade ornaments can do.

Thursday, February 24, 2011

thursday thrift: episode 2

welcome to thursday thrift, a weekly installment that lets me discuss ways to be thrifty in the home & kitchen. last week i blabbed on about chickpeas and how its cheaper to use dried ones & cook them yourself instead of using canned beans. i ended with a promise of epic proportions - a tale of mystery & colonization...

i may have over-exaggerated a bit. (to allure you back) this is not an epic tale. this is, however, all about mystery and colonization. the colonization of bacteria, and how it mysteriously transforms milk into a thick, semi-solid state full of yumminess and healthiness.

last week i made my very own yogurt. well, i took pictures anyways. it is super easy - you can do it too!

here's how:

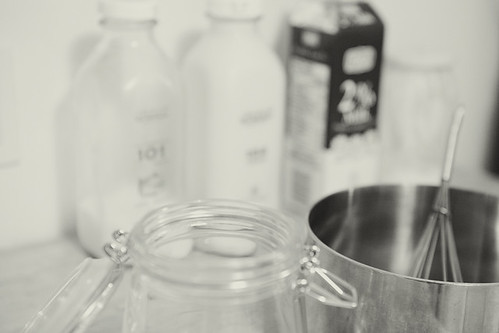
what you need:
milk (preferably organic whole milk)
a saucepan
a wisk
a container
a tablespoon or 2 of yogurt (unflavored, make sure it contains active bacteria)
a warm place in your house/ a container to keep your yogurt container warm

measure your milk by pouring it into the container you will be using later on. the amount of milk you use = the amount of yogurt you will get.

pour milk into saucepan.

put saucepan on high heat.

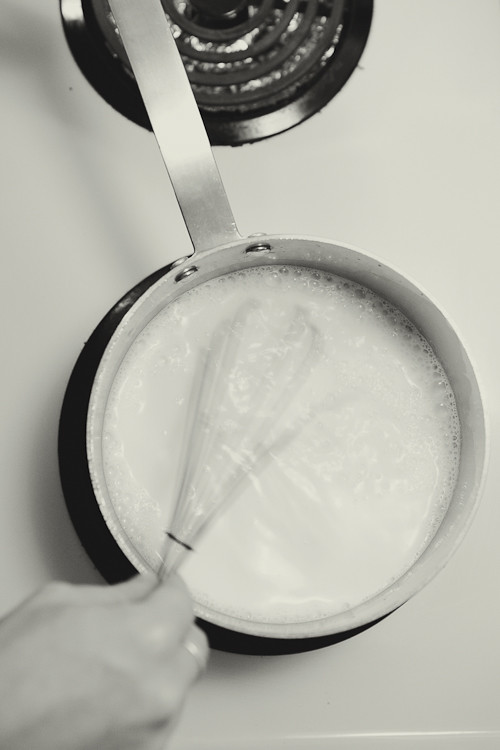
whisk your milk continuously as you heat it.

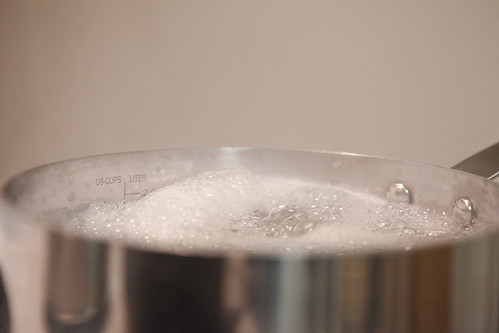
as SOON as it starts frothing (you will know because it will triple in size and want to spill over your saucepan), take it off the heat. OR, if you use a thermometer, you want it to reach 180 C, just before it boils.

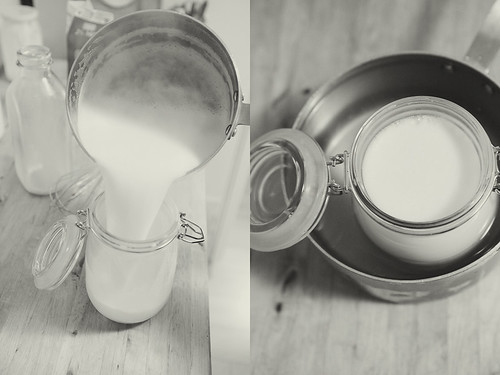
pour scalding milk into your container. you want to cool it down now to a temperature of 110 or 115 C. to quicken that process, set your container in a bigger container full of cold water and stir your milk constantly. the temperature drops quickly, so be careful. we didn't have a thermometer, so we checked by dipping a finger in. if your finger can stay in for 10 seconds comfortably (without burning), then you're good to go. remove the container from the water.

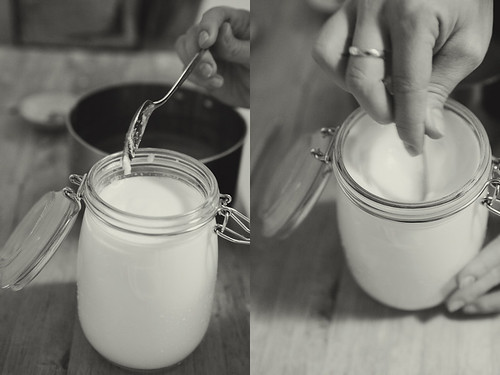
add your yogurt and stir.

(best to use fresher yogurt. the bacteria in yogurt close to its expiry date may have less active cultures.)

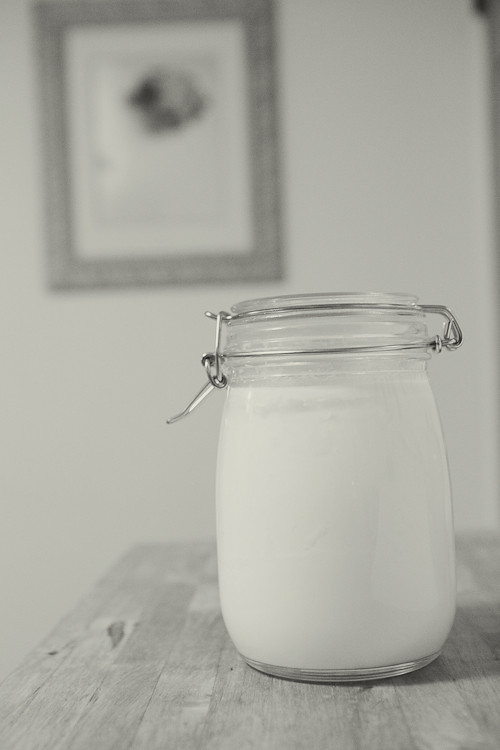
close your container. now you want to keep it warm for 6+ hours. we wrapped ours up, and put a hot water bottle underneath to help with the warmth insulation. some sites suggest using a crockpot or a picnic cooler with towels or jars of hot water to keep it warm. the longer you keep it warm, the thicker and more sour it will be. check it at 6 hours, if it looks like yogurt & is thick enough, place it in fridge to cool.

and there you have it. homemade yogurt!

here are some other helpful yogurt links:
granvilleonline.ca
homemade baby food recipes

Thursday, February 17, 2011

thursday thrift: chickpeas

my new weekly installment: thursday thrift.

with thursday thrift i will share & discuss ways to be thrifty in the home and in the kitchen. the purpose of thursday thrift is not just about saving money while still eating good food (though that is a large part of it, i assure you). i want to explore the idea of being more involved in the food i consume, and take pleasure in the act of creating beautiful, practical things with my own hands. i hope you will join me in my exploration of thriftiness in domesticity.

today's thrift:
i love hummus. i often make my own. i'm surprised i haven't written about making hummus yet, but essentially its chickpeas, garlic, tahini, lemon juice, olive oil, salt, pepper. you can use this recipe as a base if you like. but let's go a step further. instead of buying canned chickpeas (garbanzo beans) for your lovely, cheap, homemade hummus, buy them dried in bulk and cook them yourself. it takes a bit of pre-planning, but its cheaper, fresher, and tastes better too.

how to prepare and cook your dried chickpeas:

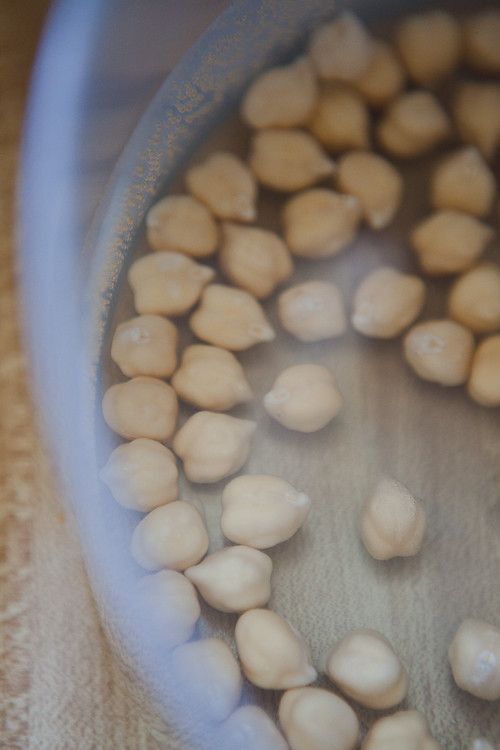
1: soak the beans overnight (8-10 hours) in a big container of water, in a cool place.*
2: next day, put the beans in a large pot & cover with water, leaving a couple inches at the top.
3: bring the pot to a boil, then reduce heat & simmer. skim off the froth that develops.
4: simmer until cooked. 30-40 minutes. you could want them crunchy for salads, or mushy for hummus, so its up to your tastes.
5: drain the beans. i like to salt them at this point, before i use them or put them in the fridge for future use.**

*one cup of dried chickpeas makes just over two cups of cooked chickpeas.
** adding salt before the beans are fully cooked will toughen the beans

see that froth? skim it off with a spoon. you don't want it.

helpful, related links:
how to cook lovely, lovely legumes - limes & lycopene
preparing dried chickpeas for cooking - ehow.com

hummus may be tasty and exciting, but i realise chickpeas are a dull, boring topic. so come back next thursday thrift, for an epic tale of mystery and colonization...